Practical Travel
How to Wear a Ryokan Yukata and Etiquette Can You Wear It for Meals, Public Baths, and Outings?
Updated 11 November 2026By Dynamic Japan Travel editorsEditorial policy
Contents
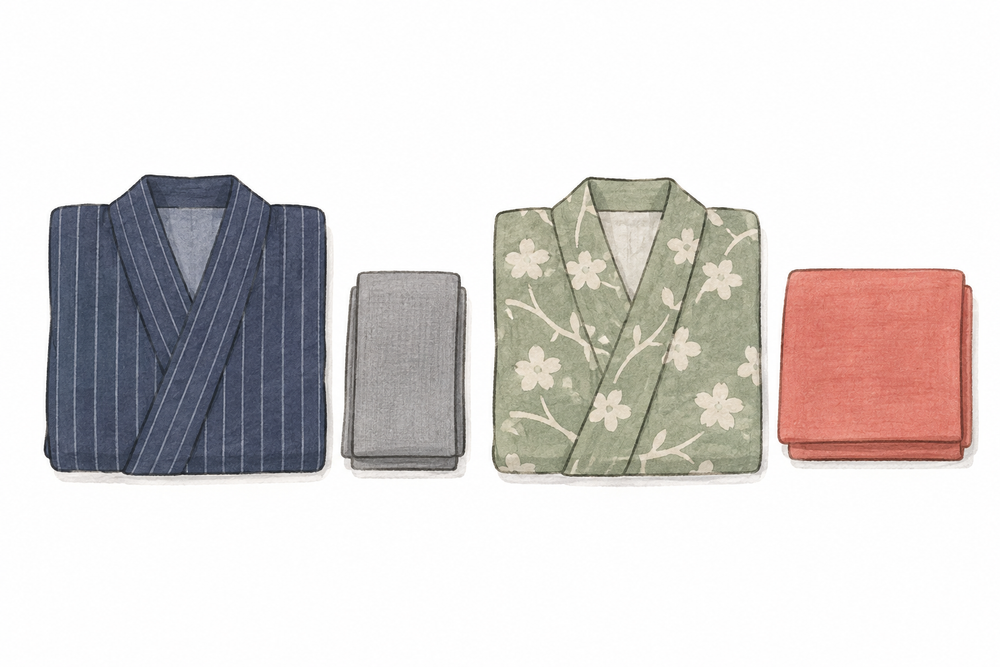
If you find a yukata and obi in your ryokan guest room, you might wonder if it's okay to wear them until dinner. The yukata provided by the ryokan is a lightweight garment meant for relaxing in your room or after using the onsen (hot spring). You overlap the front and secure it with the obi. Check the inn's guide to see if you can wear it to the dining area, as rules may differ for breakfast and dinner.
Key Points of This Article
For those staying at a Japanese ryokan for the first time and wanting to try on the yukata provided in the room.
- Where to wear it. Follow the inn's guidance for dining areas, moving to the public bath, and outside the premises.
- How to overlap the collar. First, align the right side of the wearer, then overlap with the left side on top.
- How to tie the sash. Wrap the soft sash around your waist and tie it in a bow at the front, as shown in the diagram.
How far can you go in a yukata?
- Guest room. You can wear it while relaxing in your room. Some accommodations offer separate top and bottom loungewear instead of a yukata. In such cases, check where the accommodation allows you to wear it.
- To and from the public bath. If moving in a yukata is permitted, you can change in your room before heading out. In typical public baths, remove your yukata and underwear in the changing room before entering the bath. There may be designated routes within the facility.
- Breakfast, dinner, and lobby. Check if you can wear a yukata at each meal venue. Even if yukatas are allowed for the public bath, you may need to change for the lobby or restaurant.
Some accommodations allow wearing yukata for both breakfast and dinner, while others require changing for dinner even if yukata is allowed for breakfast.
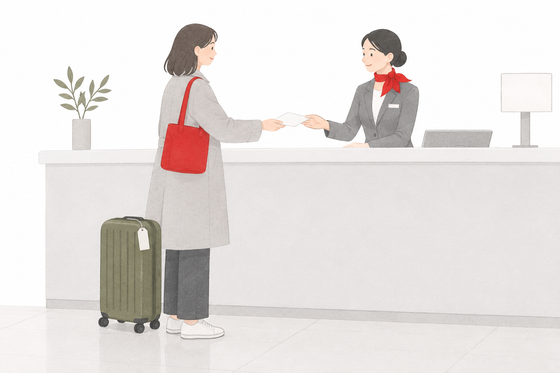
If you can't find any guidance, it's a good idea to ask at check-in, "Can I wear this yukata to the dinner venue? Is it the same for breakfast?" This way, you can avoid any last-minute rush before meals.
Check how to wear a ryokan yukata with illustrations
When you pick up a yukata, first check how to adjust the length. There are mainly two ways to wear it:
- Type that matches your body length. These yukatas are often provided in ryokan guest rooms. Choose a size where the hem reaches around your ankles when draped, and tie the obi at that length.
- Type that adjusts length at the waist. A longer yukata is folded at the waist to adjust the hem height. This fold is called "ohashori." This type is also available for "iro-yukata," which you can rent in various colors and patterns for strolling around town.
The key to distinguishing how to wear it is the way the length is adjusted. From here, we'll introduce the steps to wear a ryokan yukata that matches your body length, using a soft obi.
The collar diagram shows the wearer from the front. When wearing it, use your own right and left hands as a guide, not the screen's left and right.
How to
5 Steps to Wear a Ryokan Yukata
Wear a yukata
1Put it on over your underwear and slip your arms through the sleeves.
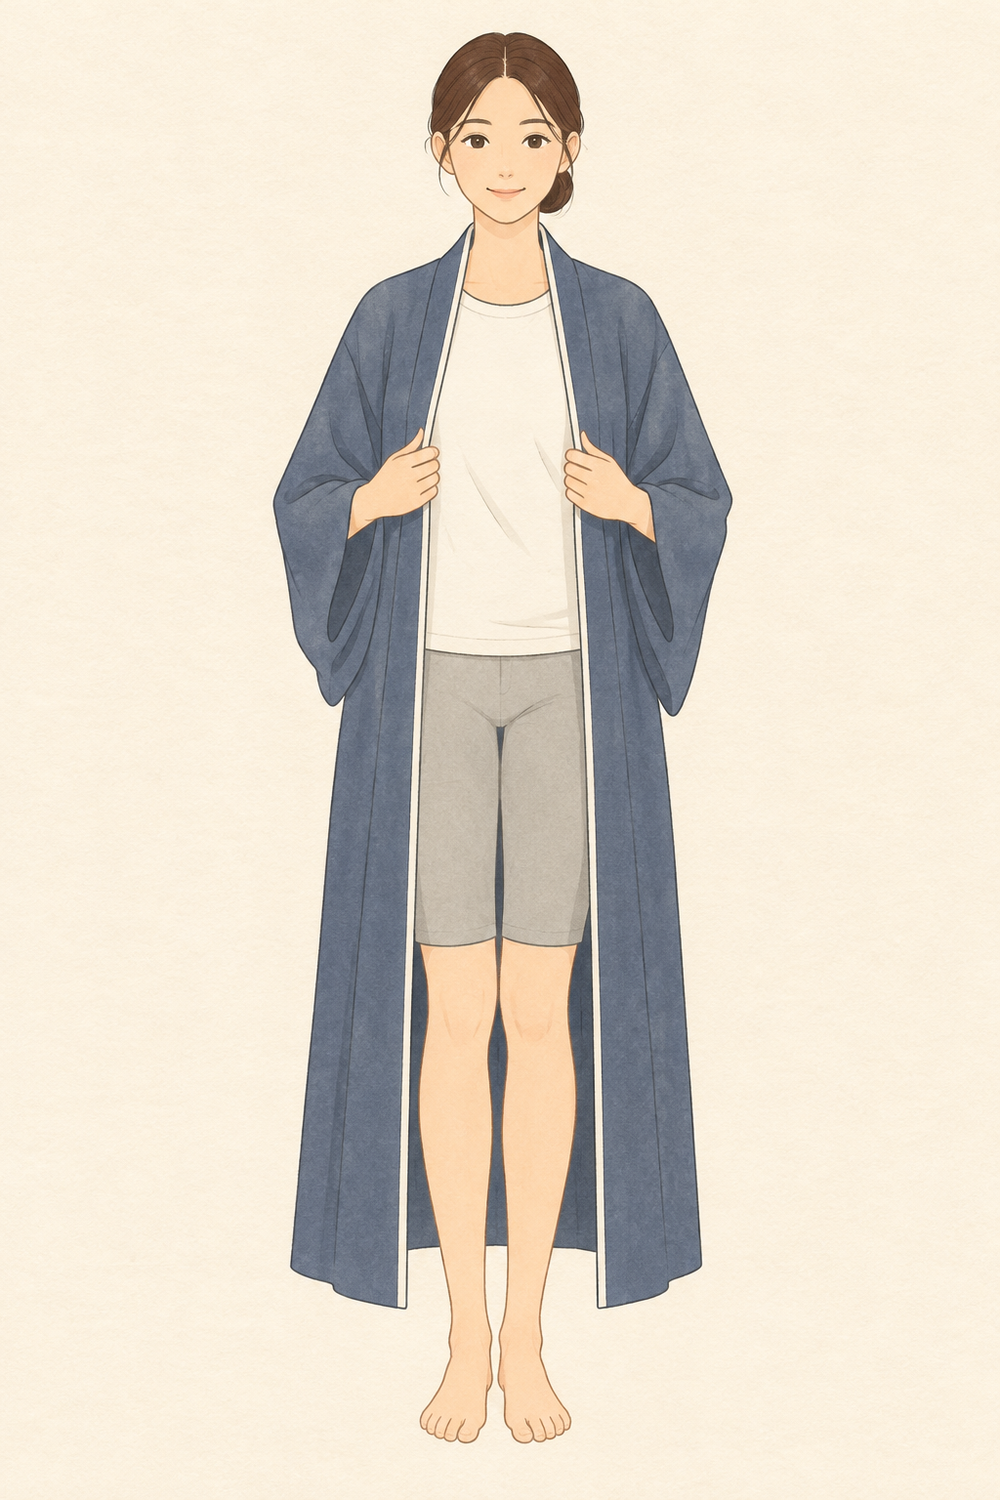
Wear a yukata over light underwear (AI-generated). Keep your regular underwear on, drape the yukata over your shoulders, and slip your arms through the sleeves. If the thin fabric is a concern, pair it with your own lightweight undergarment for comfort. Align the back seam to the center and check the hem length before closing the front. If it's too long and drags on the floor or you can't overlap the front properly, ask the accommodation for a different size.
Layering Collars
2First, align the fabric on your right side.
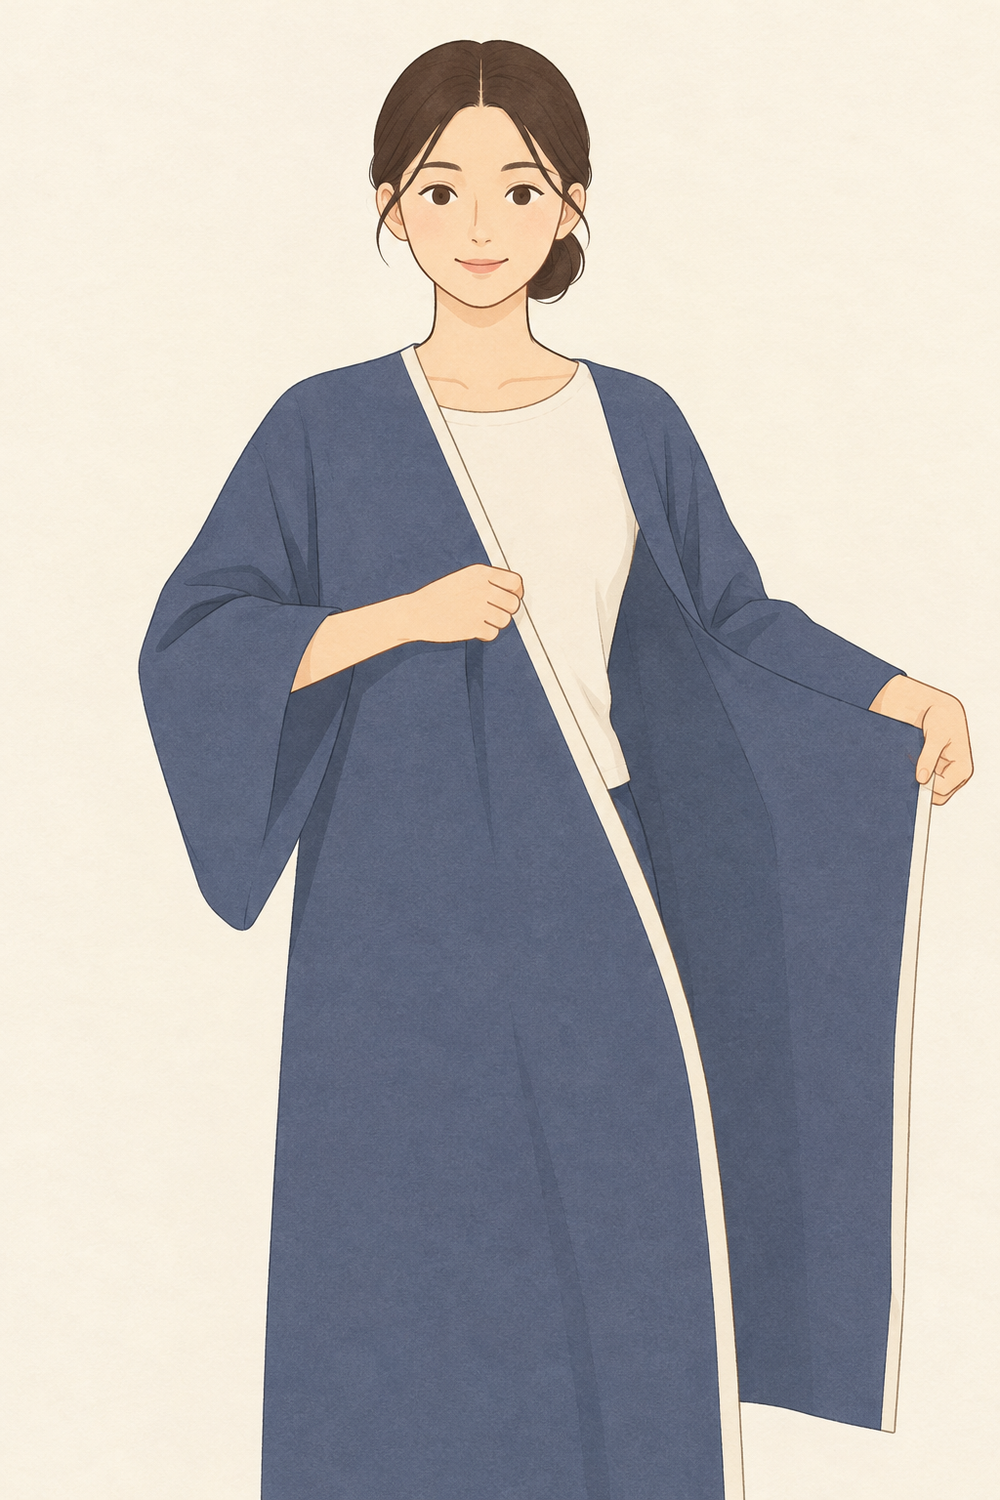
First, align the fabric on the wearer's right side. (AI-generated) Hold the right side of the fabric with your right hand and bring it across your stomach to your left hip. This fabric will be the inner layer. Do not overlap the left side of the fabric yet; keep the right side against your body.
3Overlap the left side of the fabric on top.
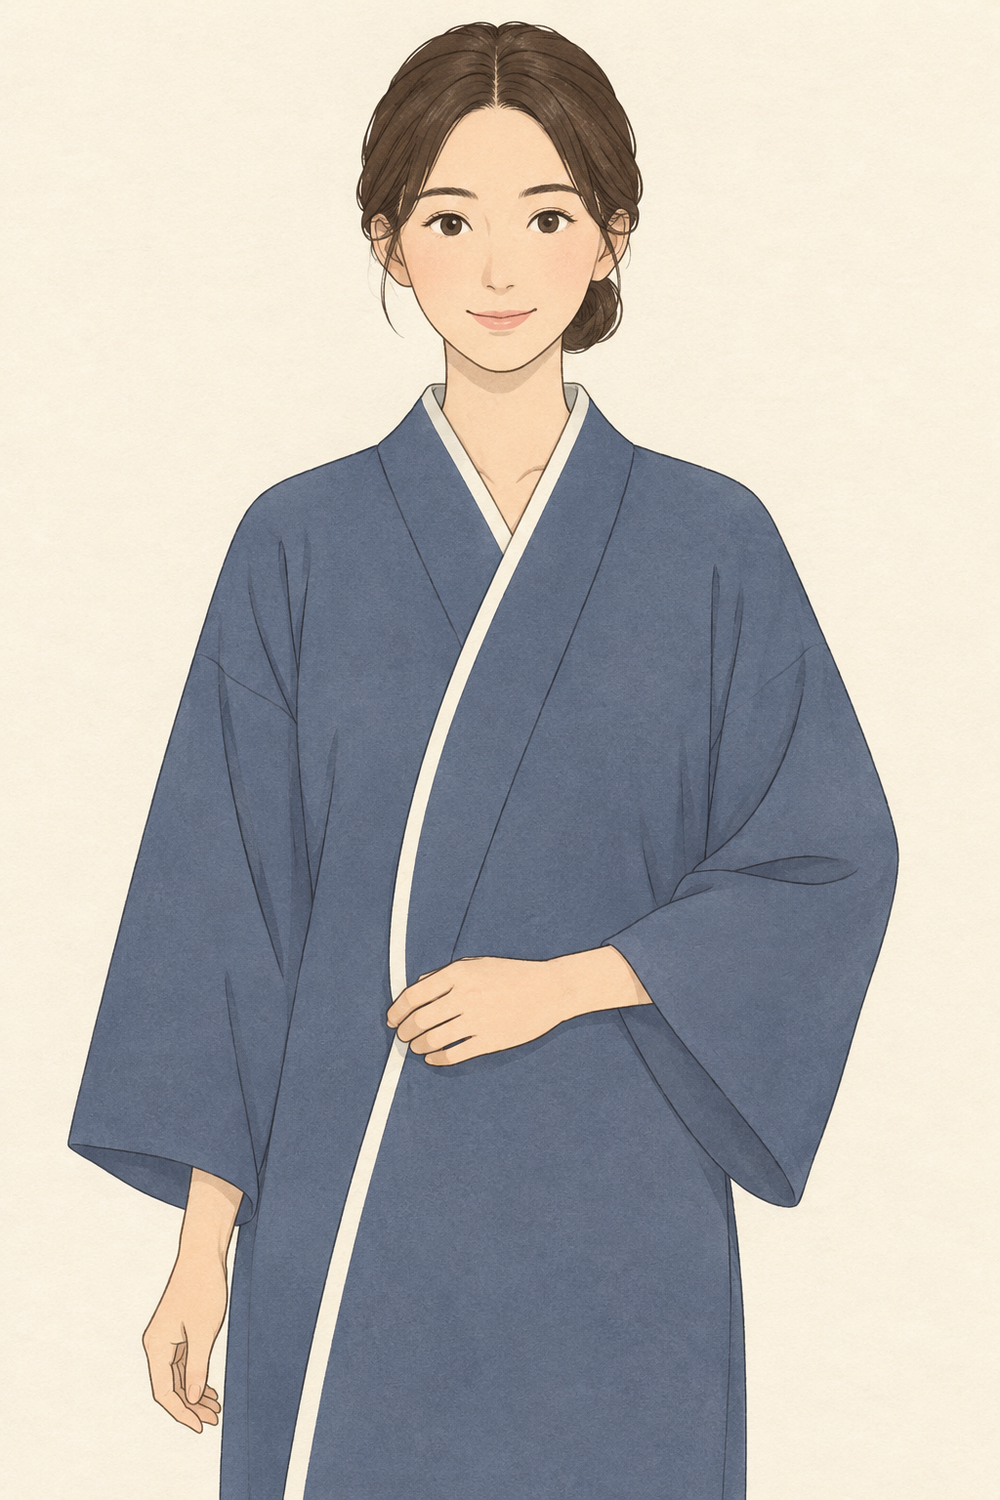
Place the fabric on the wearer's left side over the top (AI-generated). In Japanese funerals, there is a custom of dressing the deceased in a kimono with the right collar overlapping from the wearer's perspective. Hold the left side of the fabric with your left hand, cover it over the inner fabric, and bring it to your right hip. Ensure the visible collar comes from your left side and check that the hem is not significantly uneven on either side. Hold the fabric with one hand to prevent it from opening.
Wrap and tie the obi
4Hold the front and wrap the obi.
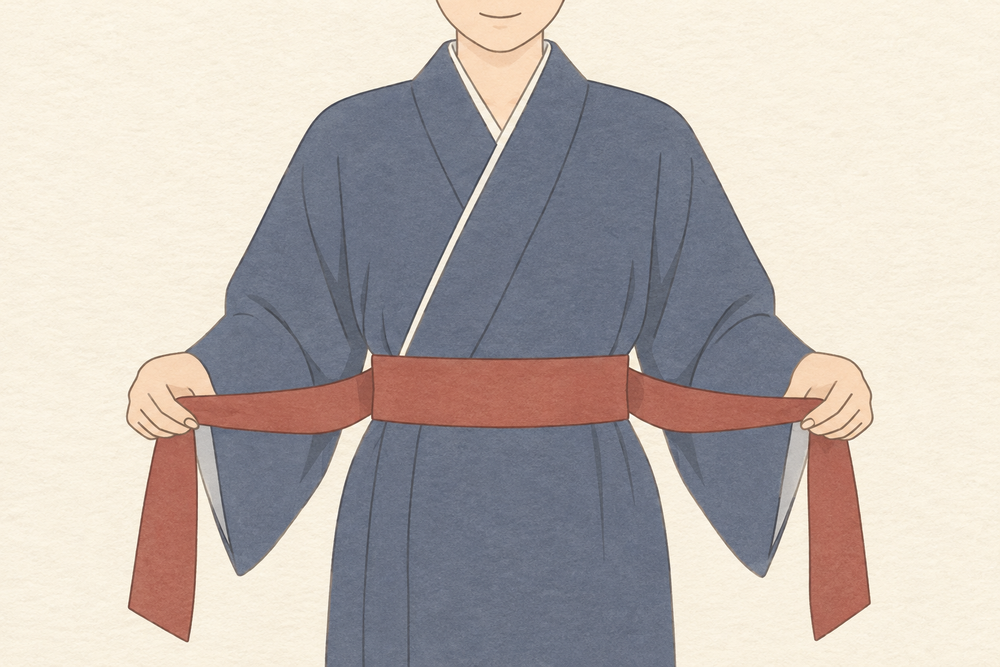
Wrap the obi around your waist, leaving enough length to tie it. (AI-generated) Hold the layered fabric in place and position the obi around your waist. Wrap the obi around your back and bring both ends to the front. If the length allows, aim for 2-3 wraps. Leave enough length at both ends for a bow. If the inn provides guidance on the height or wrapping style of the obi, follow those instructions.
5Tie the obi in a butterfly knot
Here, tie the knot in front where it's easy to see. First, tie both ends of the obi in front, then follow the next diagrams to make a bow.
5-1Make a loop with one side.
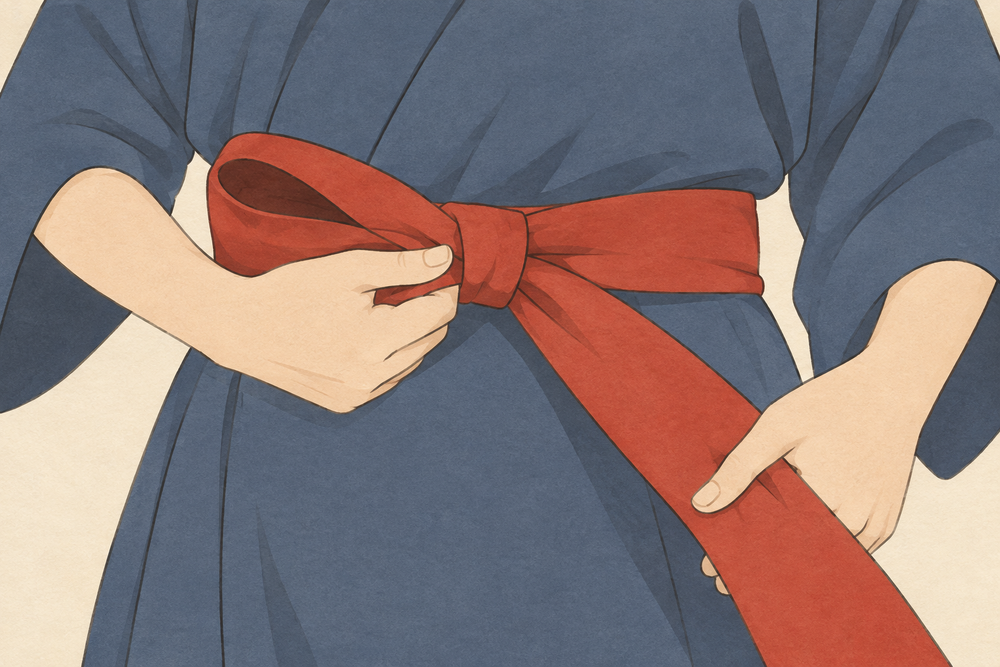
Fold one end of the obi to create a loop (AI-generated) Fold one end of the sash back to create a loop, and hold the base of the loop with your finger.
5-2Pass it through by turning the other side.
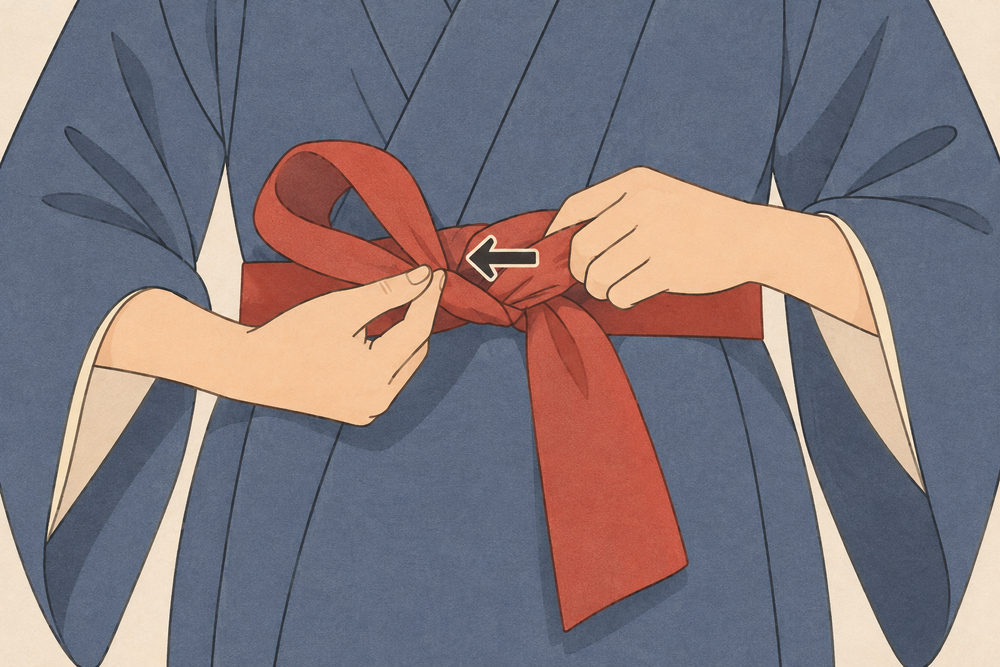
Pass the folded obi through the knot's gap in the direction of the arrow (AI-generated). Wrap the opposite end around the base of the loop. Fold back the wrapped fabric and pass it through the created gap to form another loop.
5-3Pull and adjust both rings.
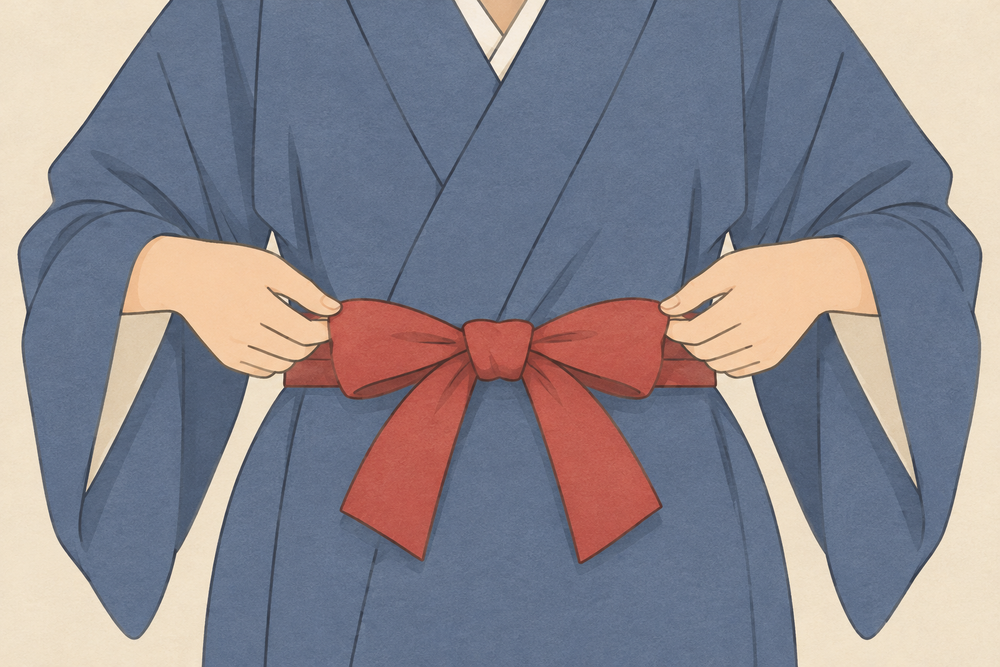
Gently pull the loops on both sides to adjust the knot (AI-generated) Lightly pull the loops on both sides to tighten the knot, and adjust the length of the loops and the ends of the sash.
Once you've tied the obi, check that the left side of your collar is on top and that your chest area is not exposed. Also, ensure that you don't step on the hem while walking and that the obi is comfortable when sitting.
When it's chilly, you can layer a haori jacket over your yukata at the inn.
If heading to an onsen (hot spring) town, confirm your accommodation and destination.
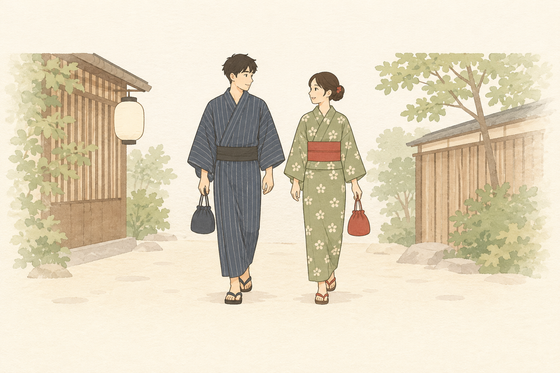
When exploring the onsen town or visiting baths outside the inn, check with the inn if you can go out in your yukata. Follow the inn's instructions to change into outdoor footwear when going out. If there are dress codes at shops or baths you visit, please adhere to them.
Asking, "Can I go outside in this yukata? Is there footwear suitable for outside?" will make it easier to enjoy a stroll after a bath.